前言
大半年没有更新过博客,最近在水神的鼓动下又弄起了 Hexo ,想想还是写篇博客抒发下。
初入 Java Web 的童鞋第一个门槛就是创建一个 Web 应用程序,尽管可以使用 Servlet 编写,但那也显得太过“原始“了。为了优化应用架构、提高效率、代码可控,所以我们需要用到各种框架来辅助我们构建应用程序。目前我主要使用的便是 Spring MVC、Spring、Mybatis—简称 SSM 。
接下来会使用 Maven 来管理依赖与构建项目,不懂的童鞋也可以等我后面专门讲解 Maven 的文章。
项目使用 JetBrains 家族的 Intellij Idea 开发。
创建 Maven Web 项目
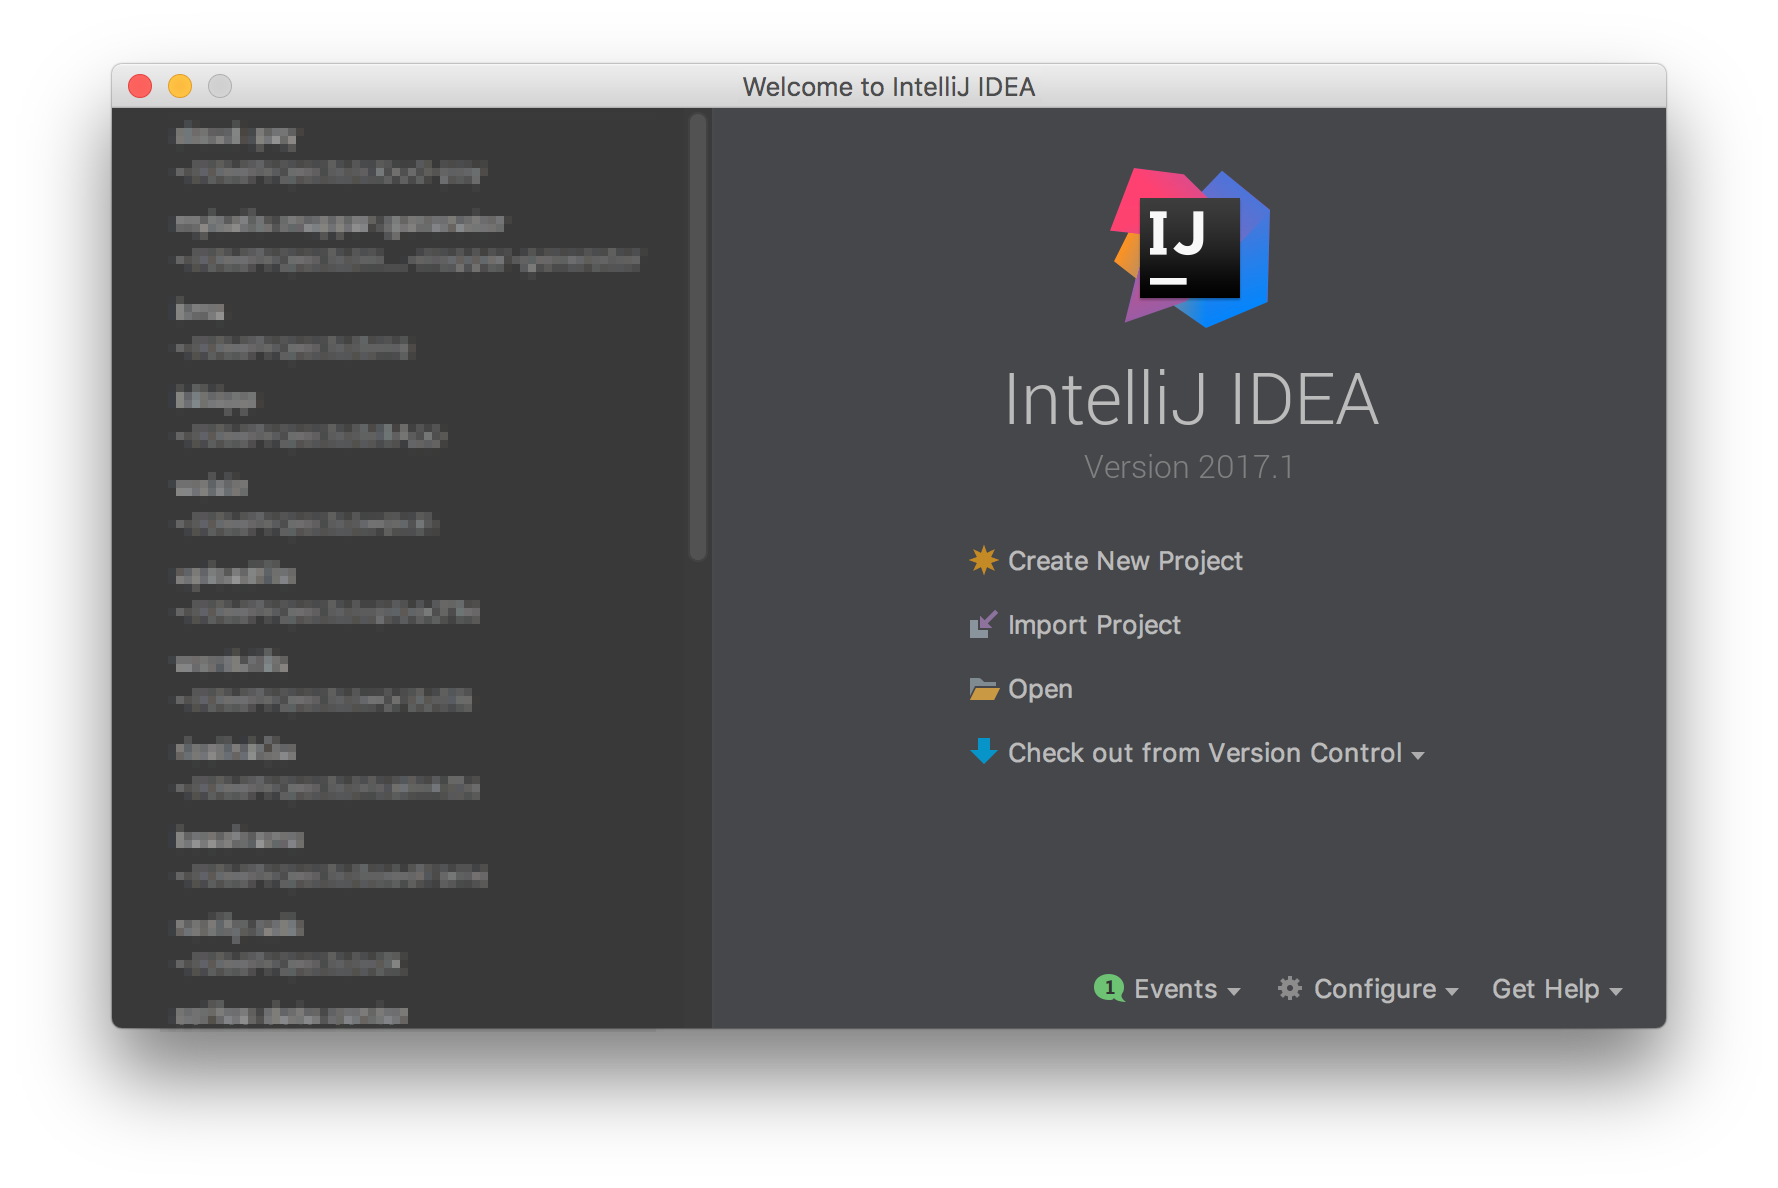
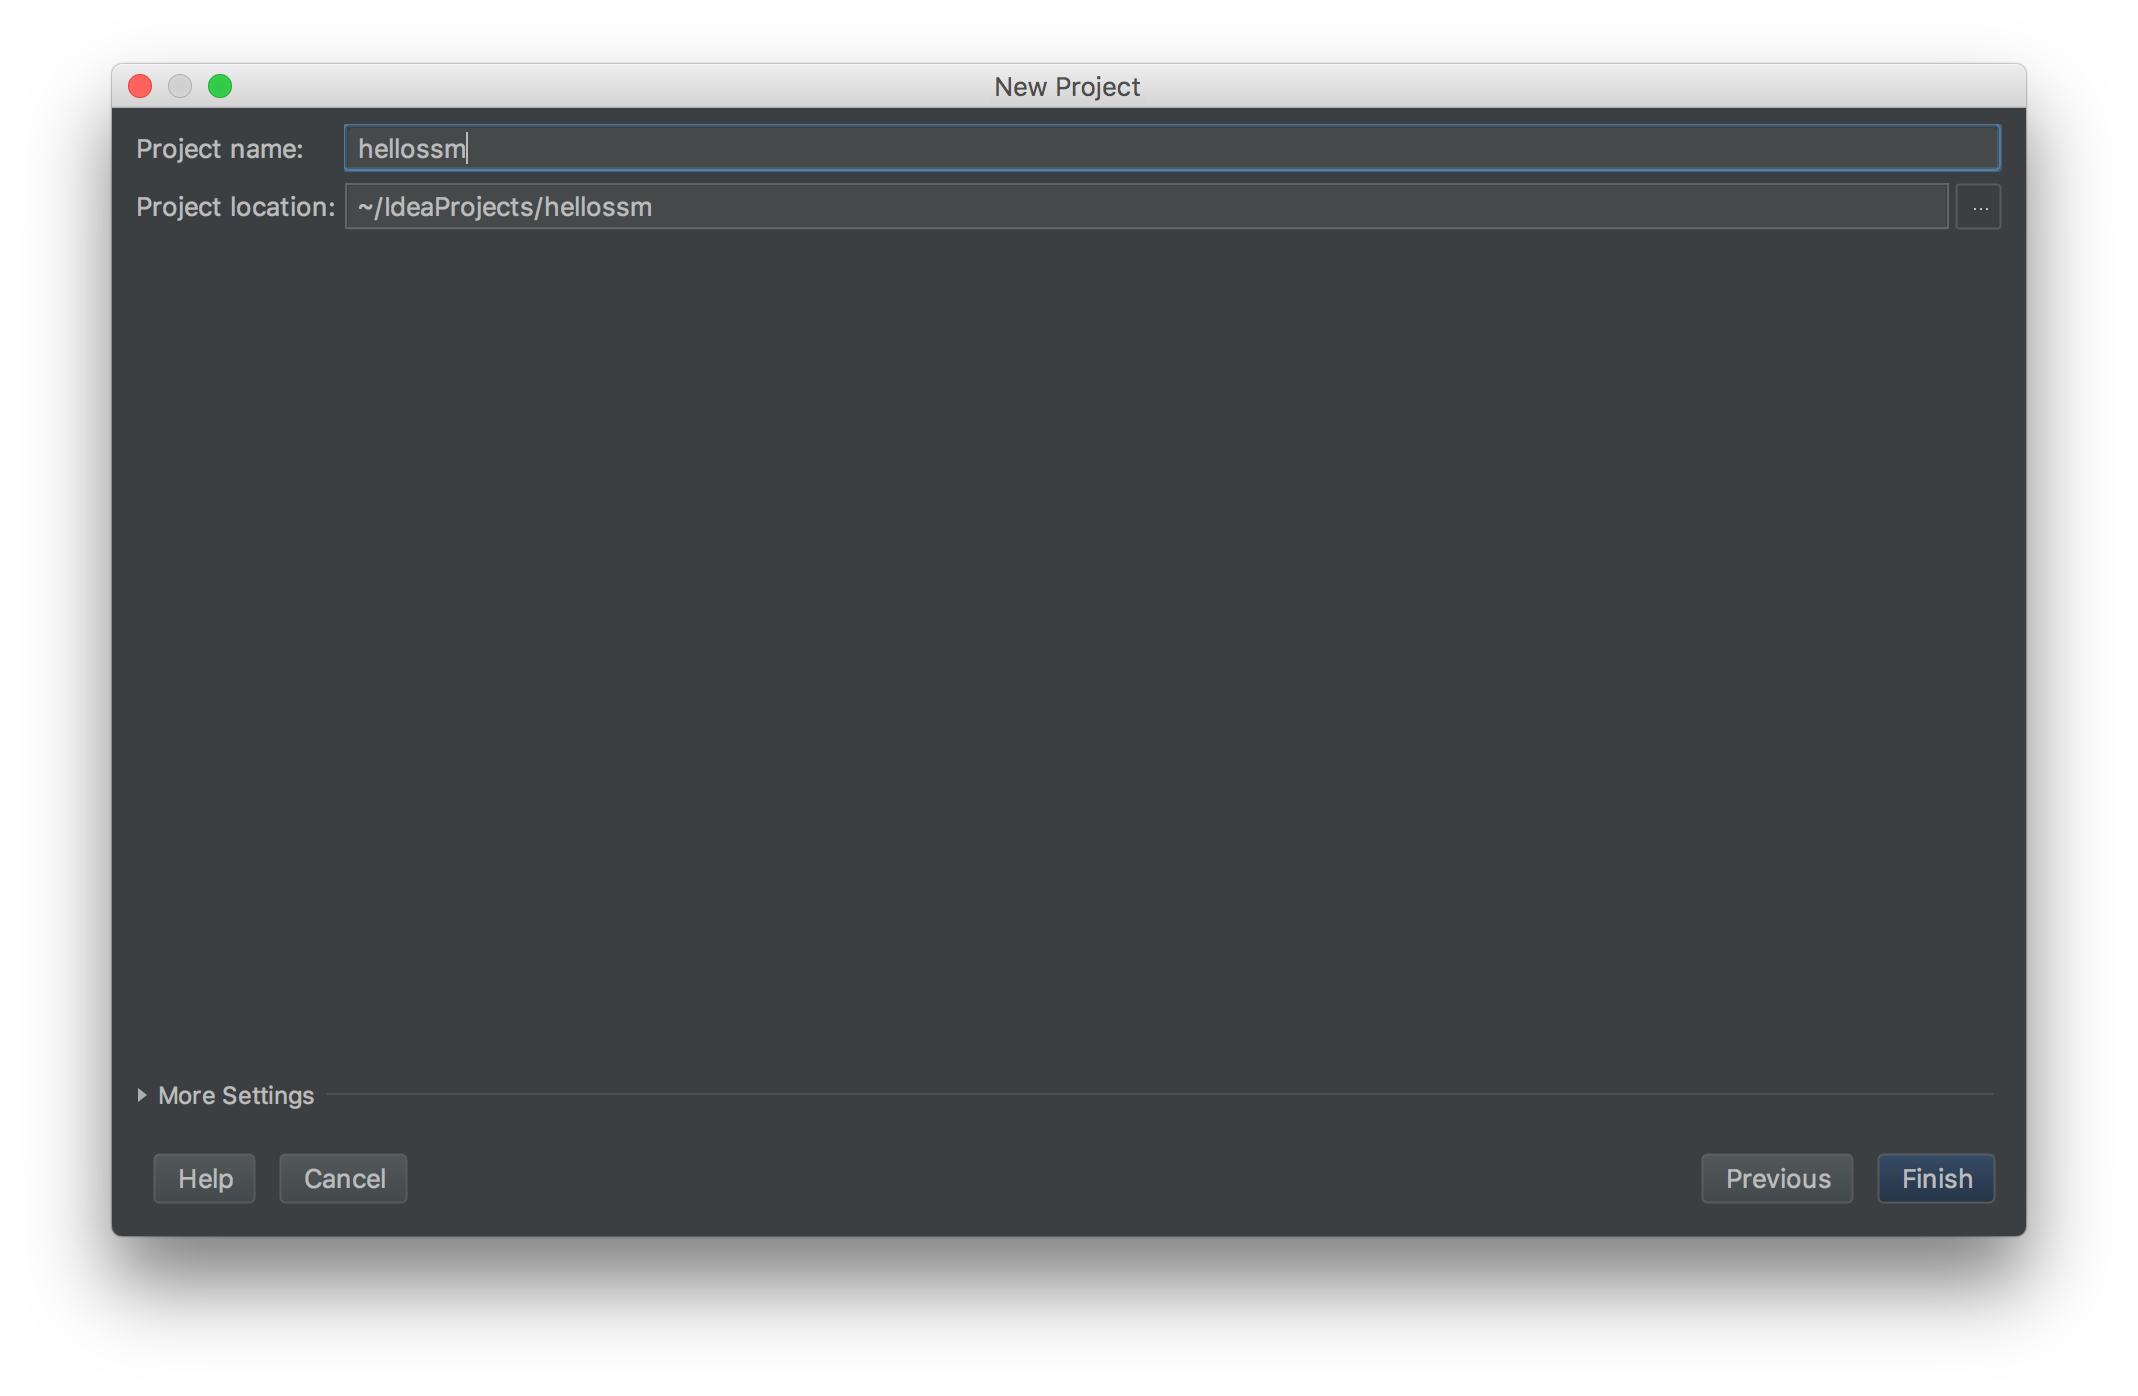
首先我们需要创建一个基于 Maven 的 Web 项目,点击 Create New Project 。
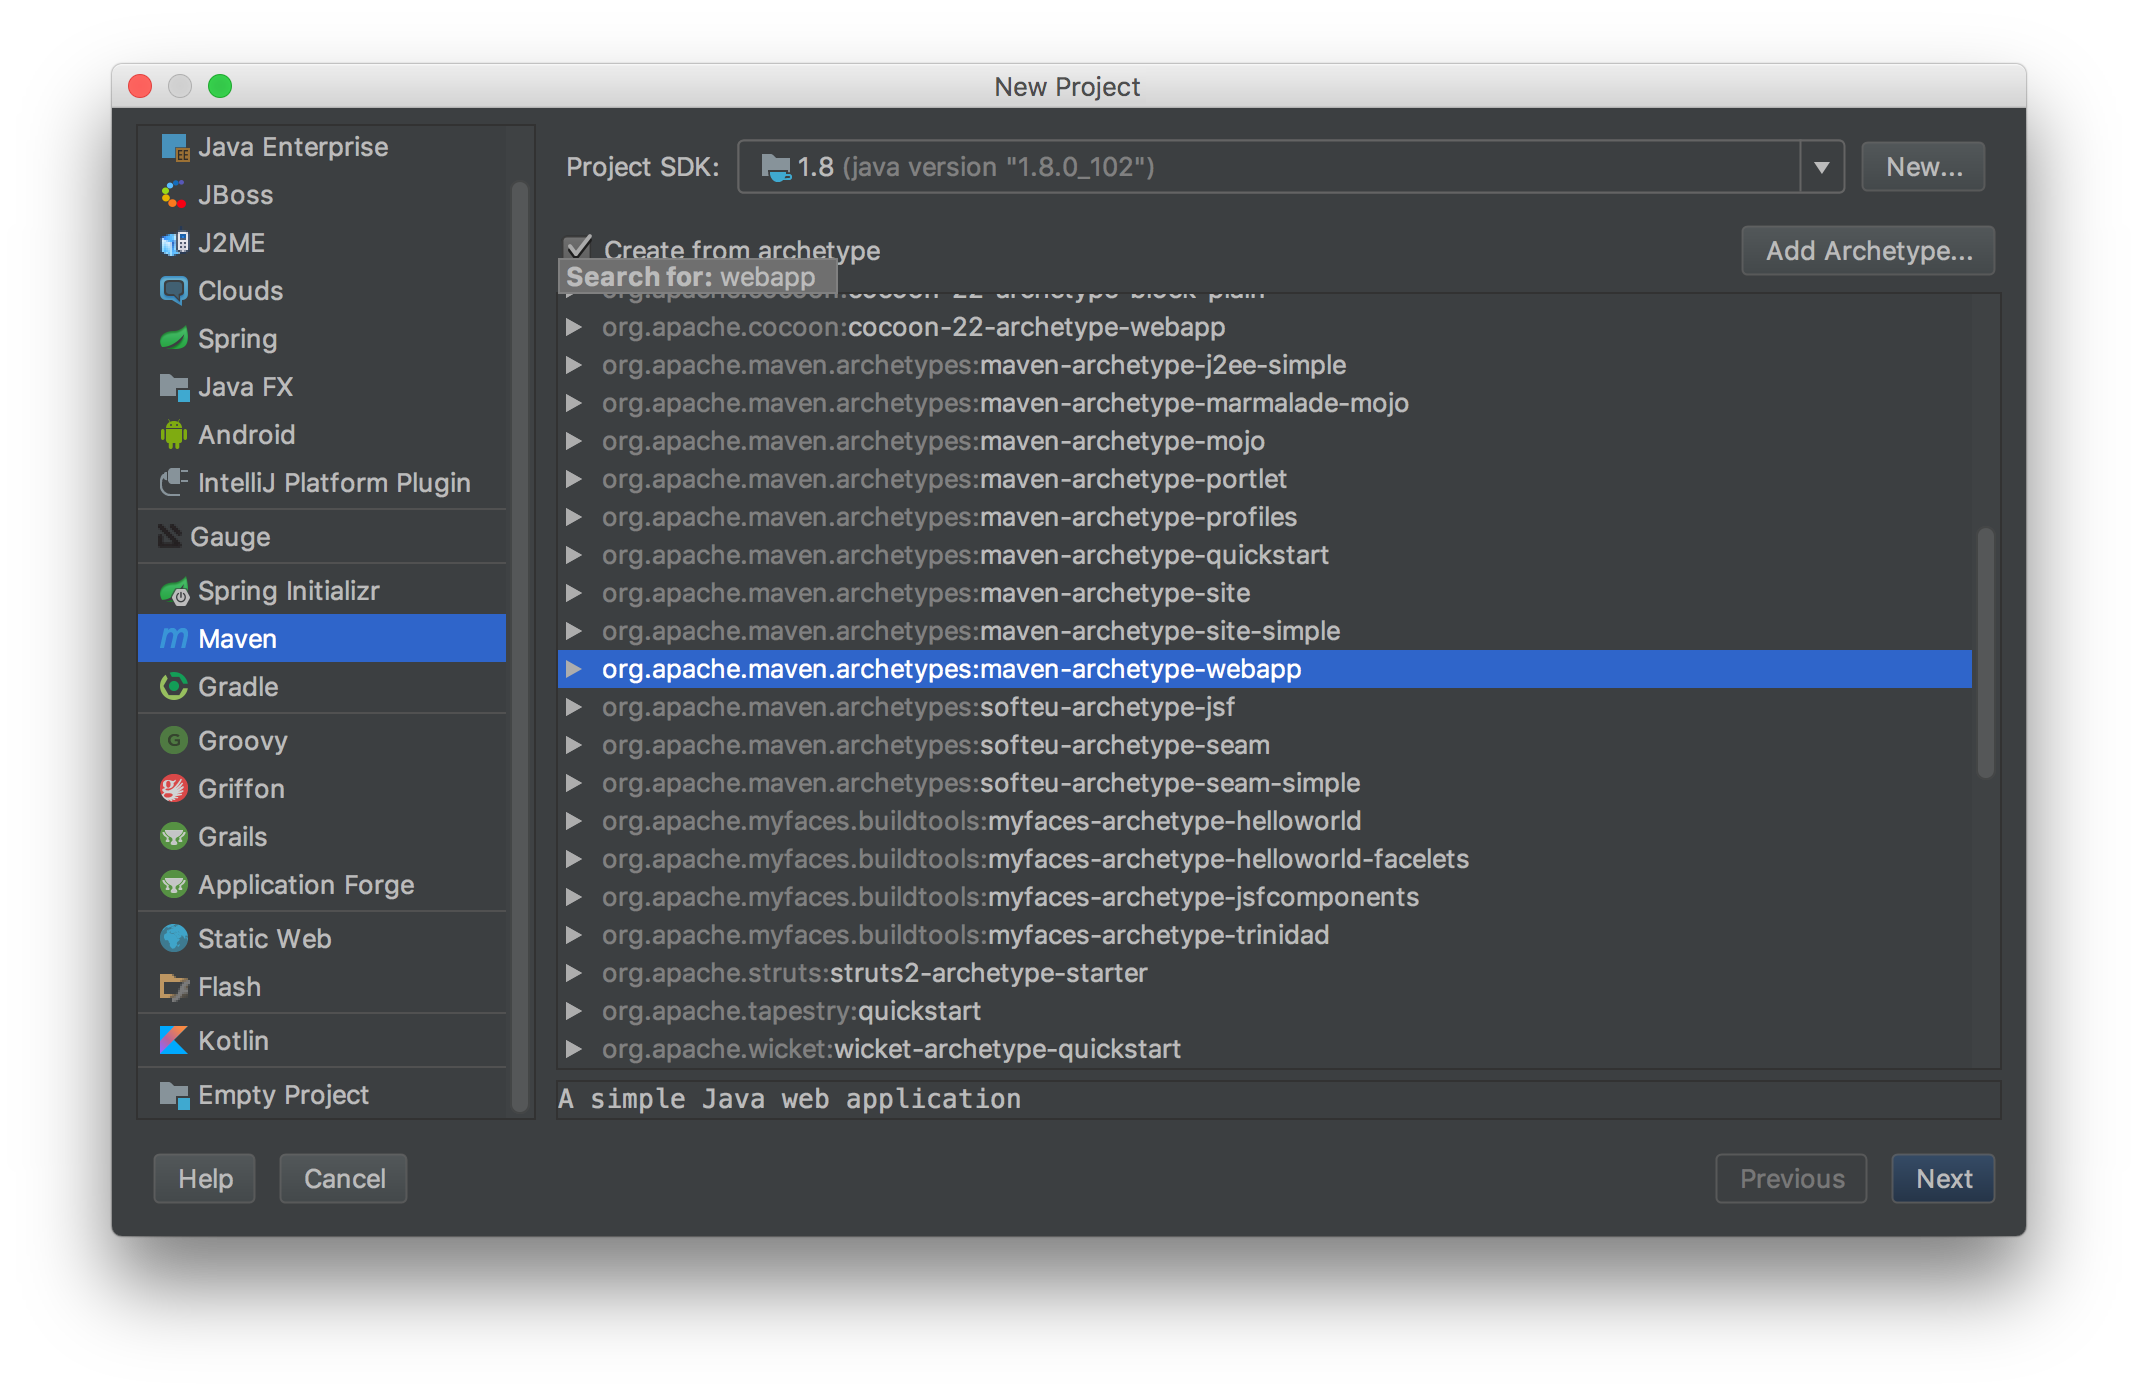
选择 Maven ,并且选择生成 Web 原型项目-勾选 Create from archetype ,选择 maven -archetype-webapp 原型,并填写项目信息。
提示,选择 archetype 时可能觉得有点乱,这时输入 webapp 即可过滤选择项,然后通过上下箭头选择
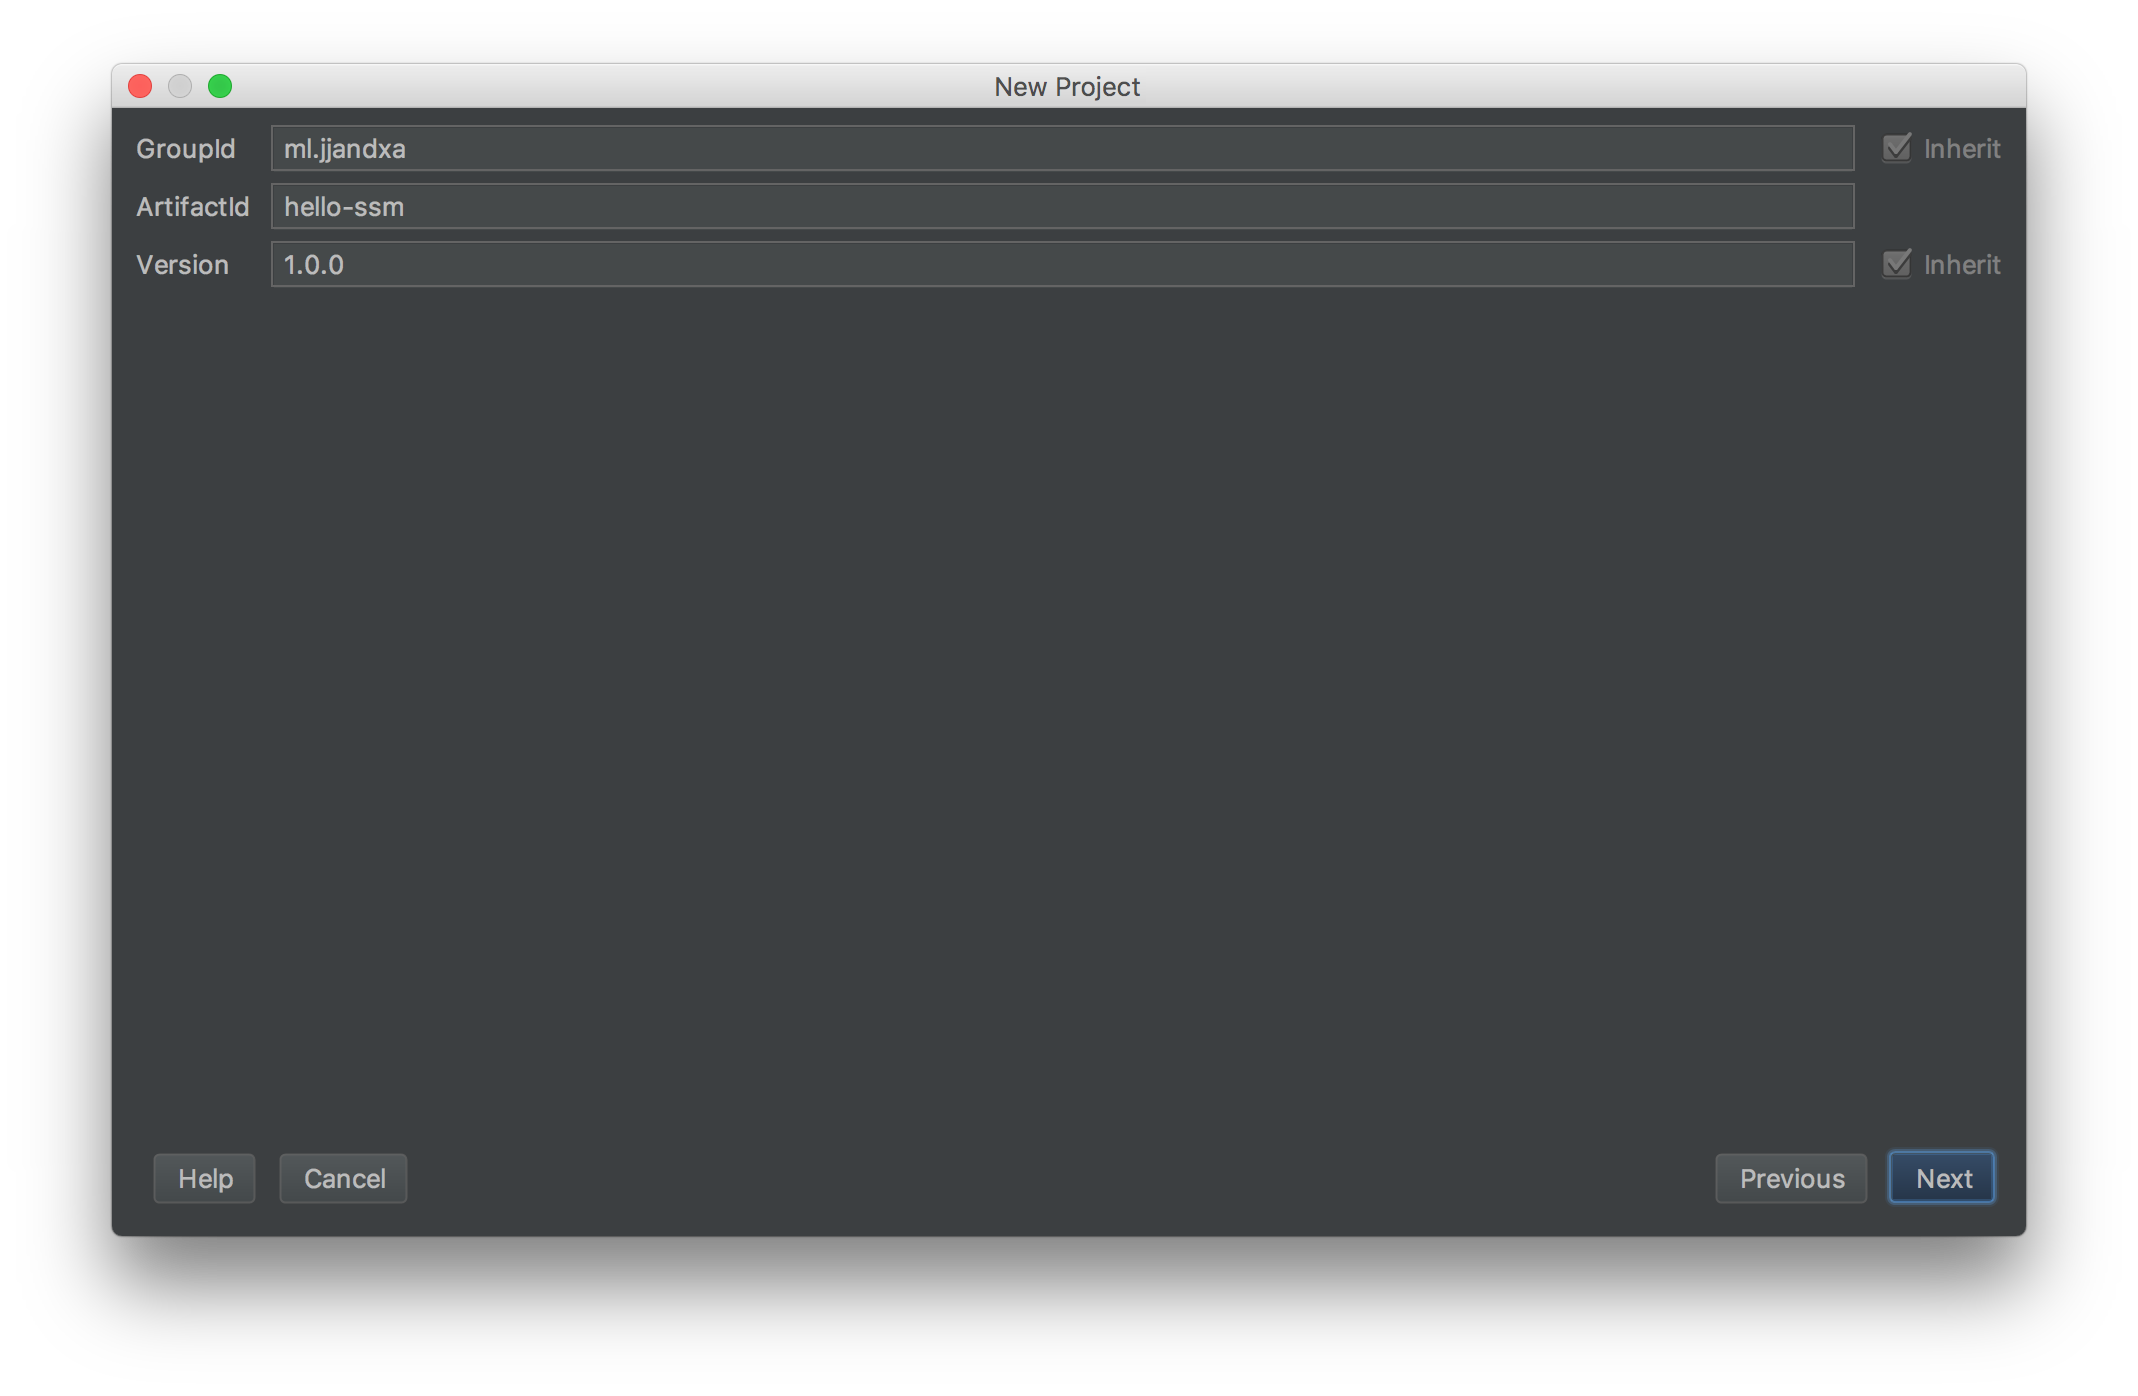
Maven 相关:
GroupId: 一般为你自己的独立域名
ArtifactId: 项目名称
Version: 版本号
以上信息是 Maven 项目里的必要条件,描述了该项目的所有者、名称、版本号,以作为其他项目添加依赖时的依据。
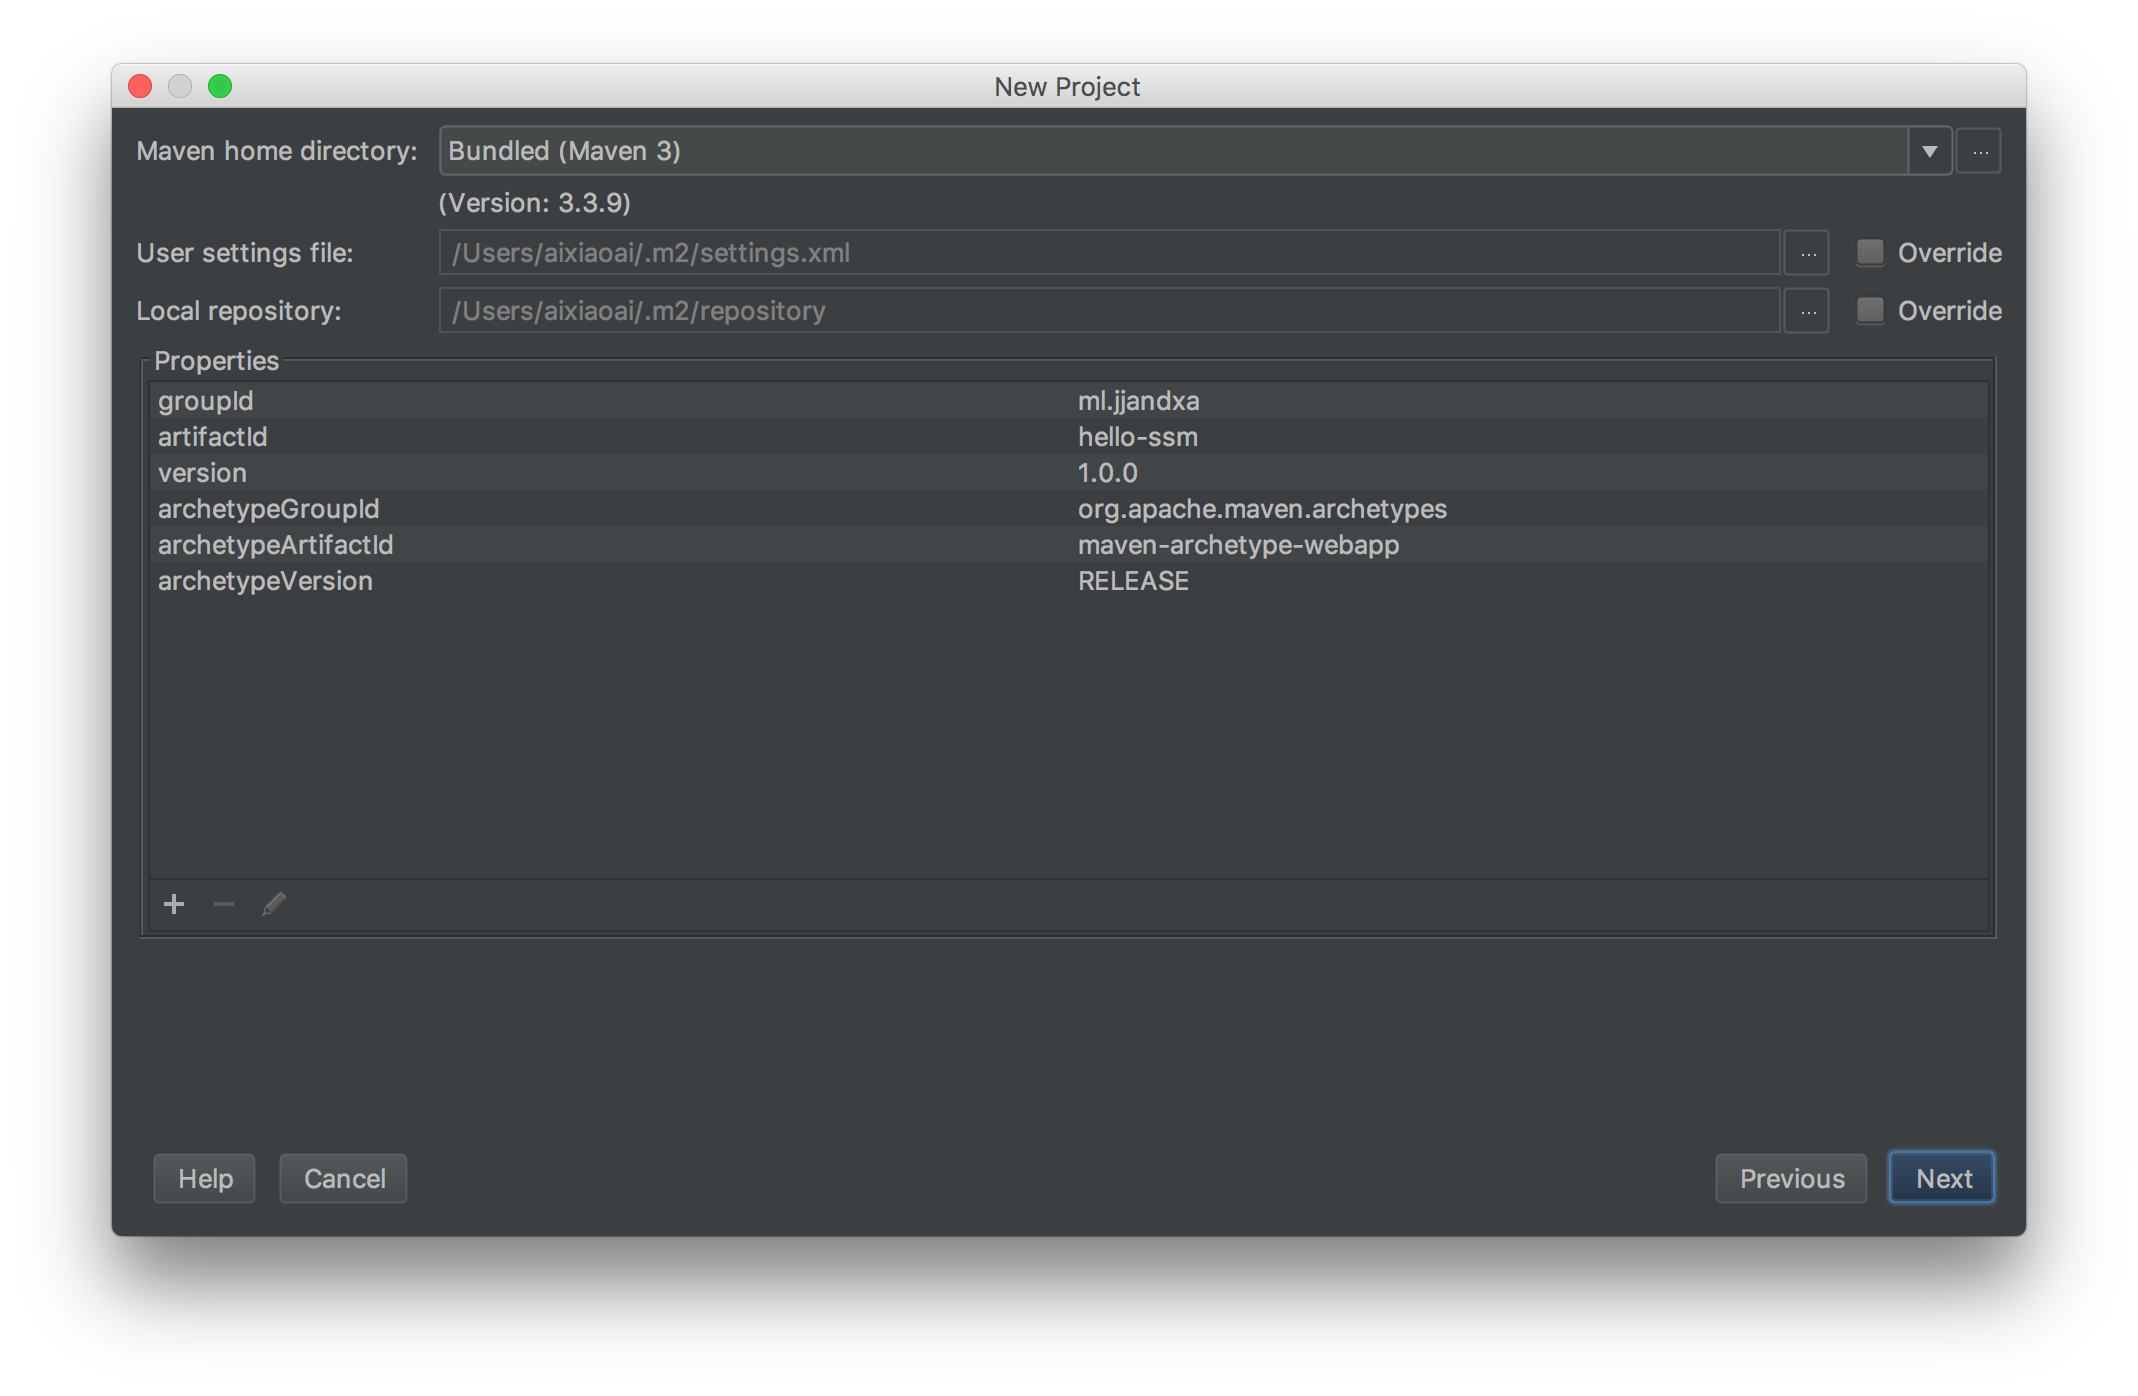
点击 Finsh 完成项目的创建。
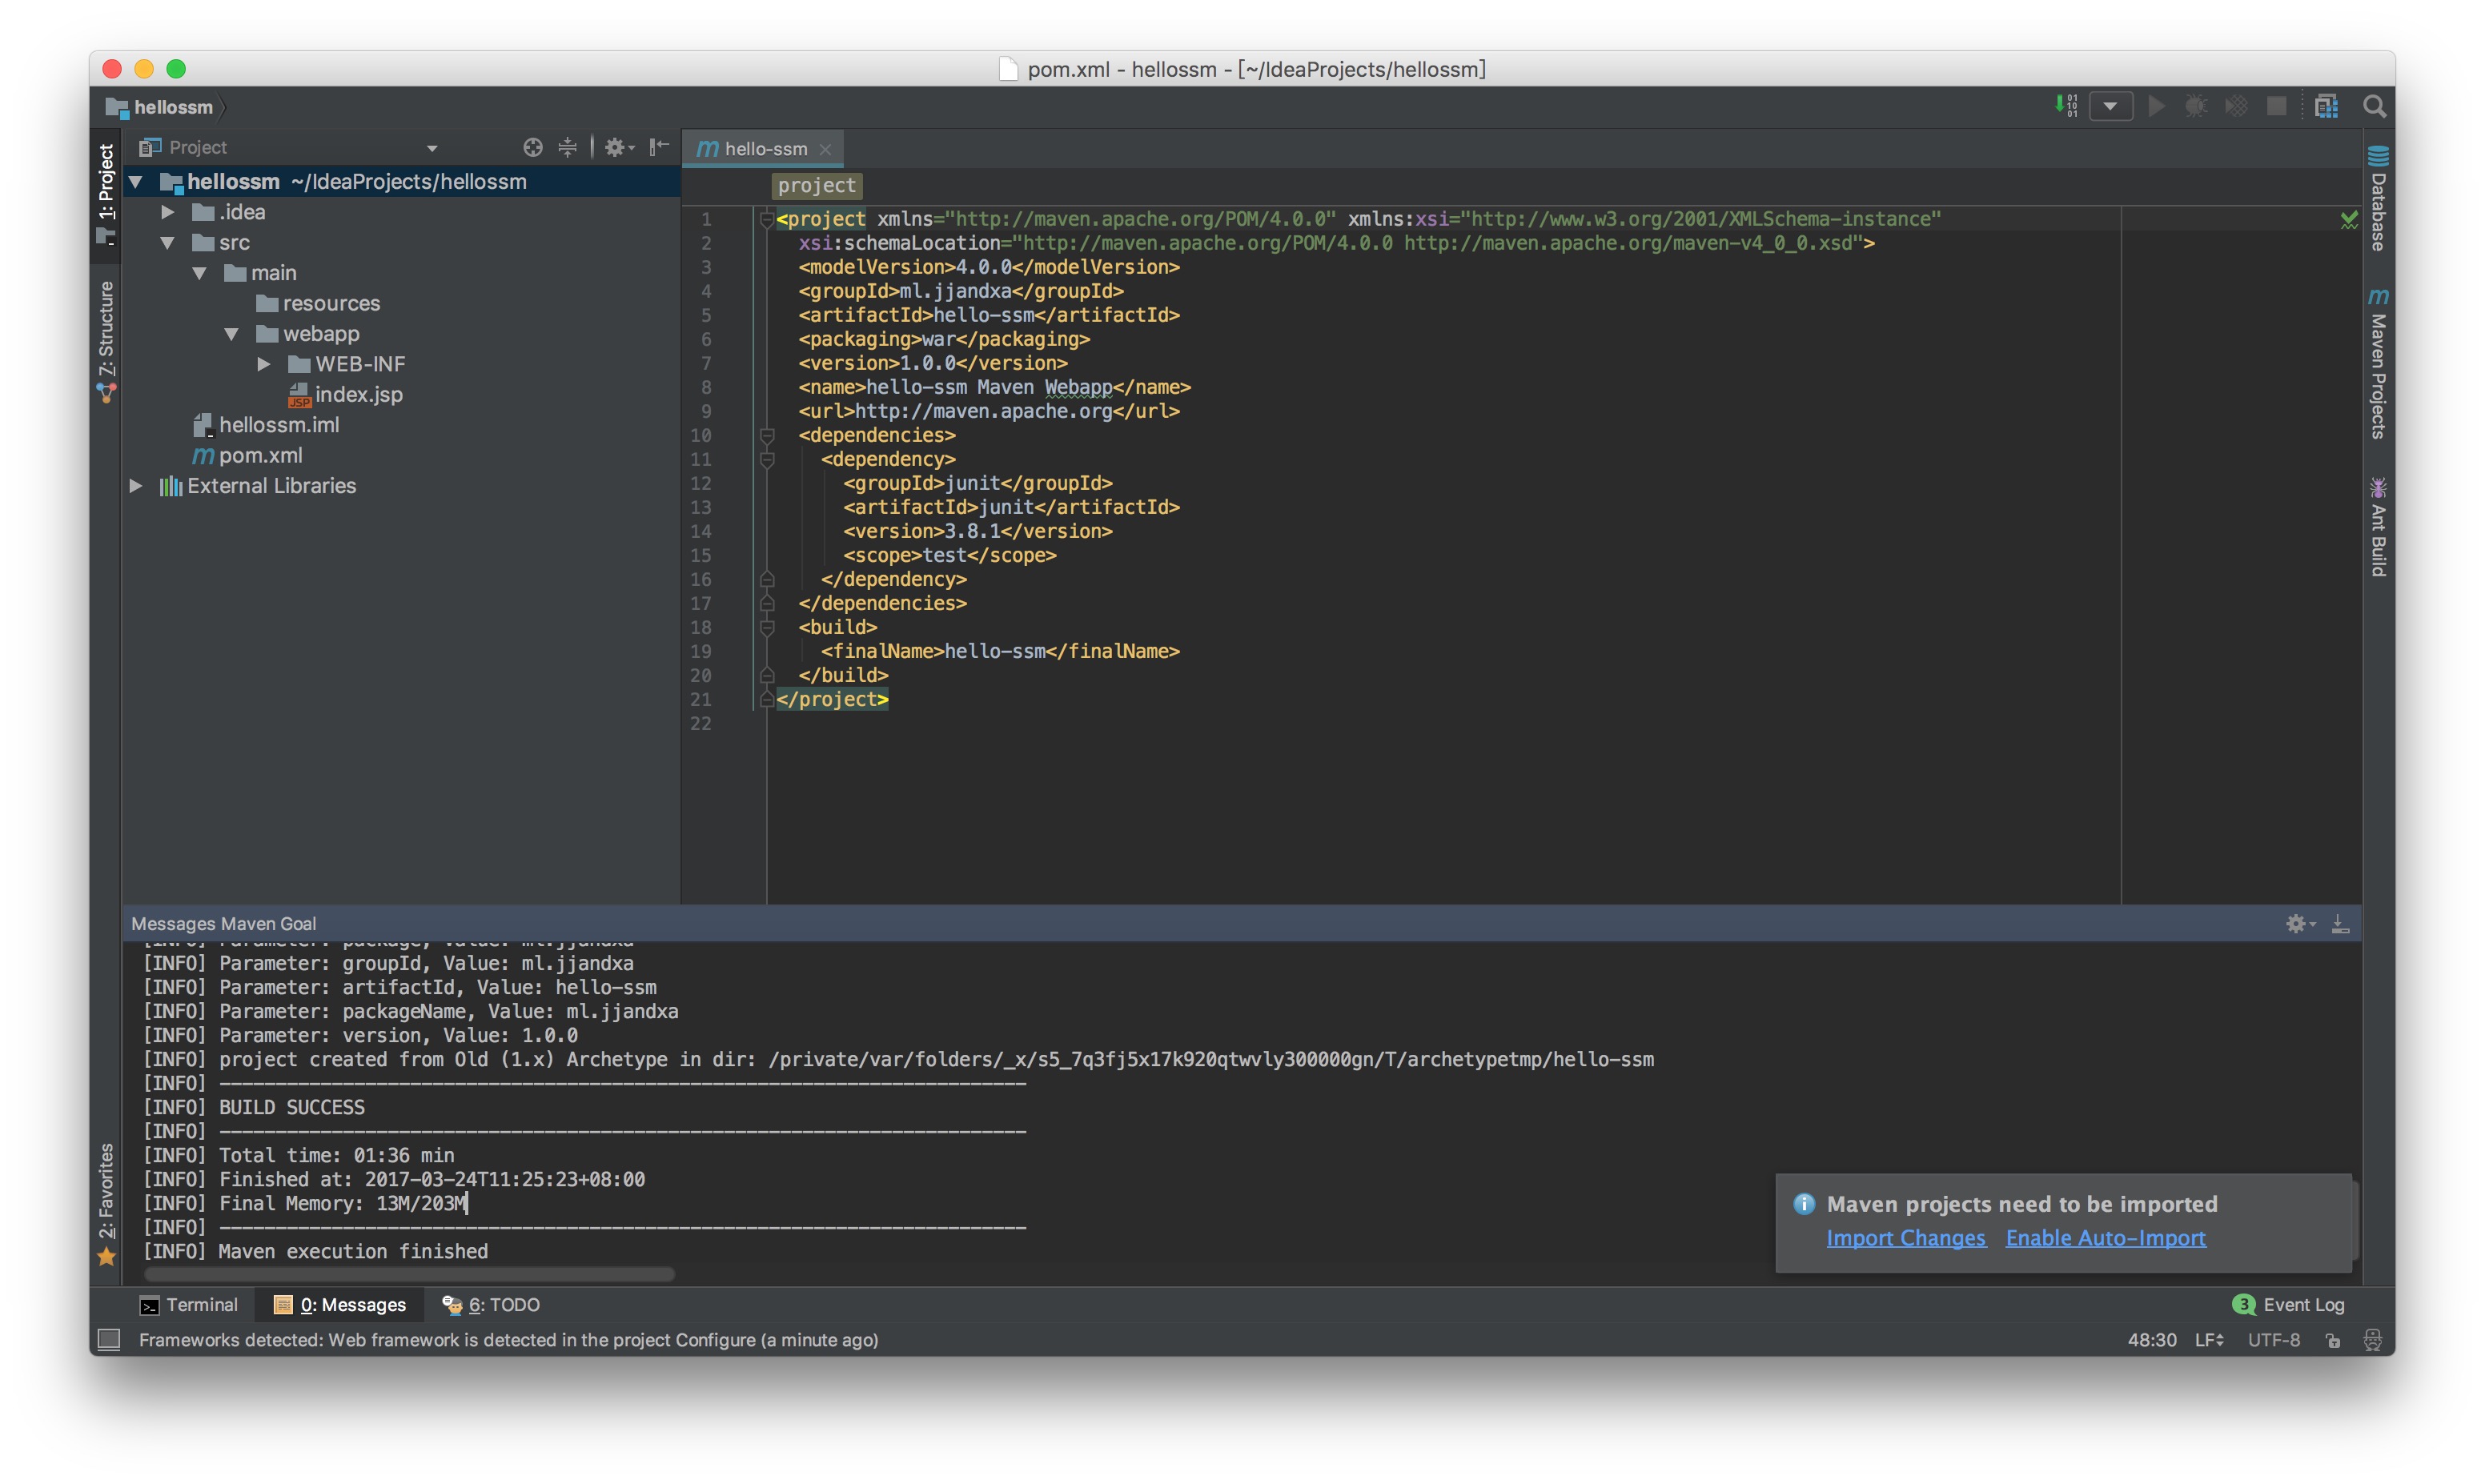
最好开启 Maven 的自动导入喔
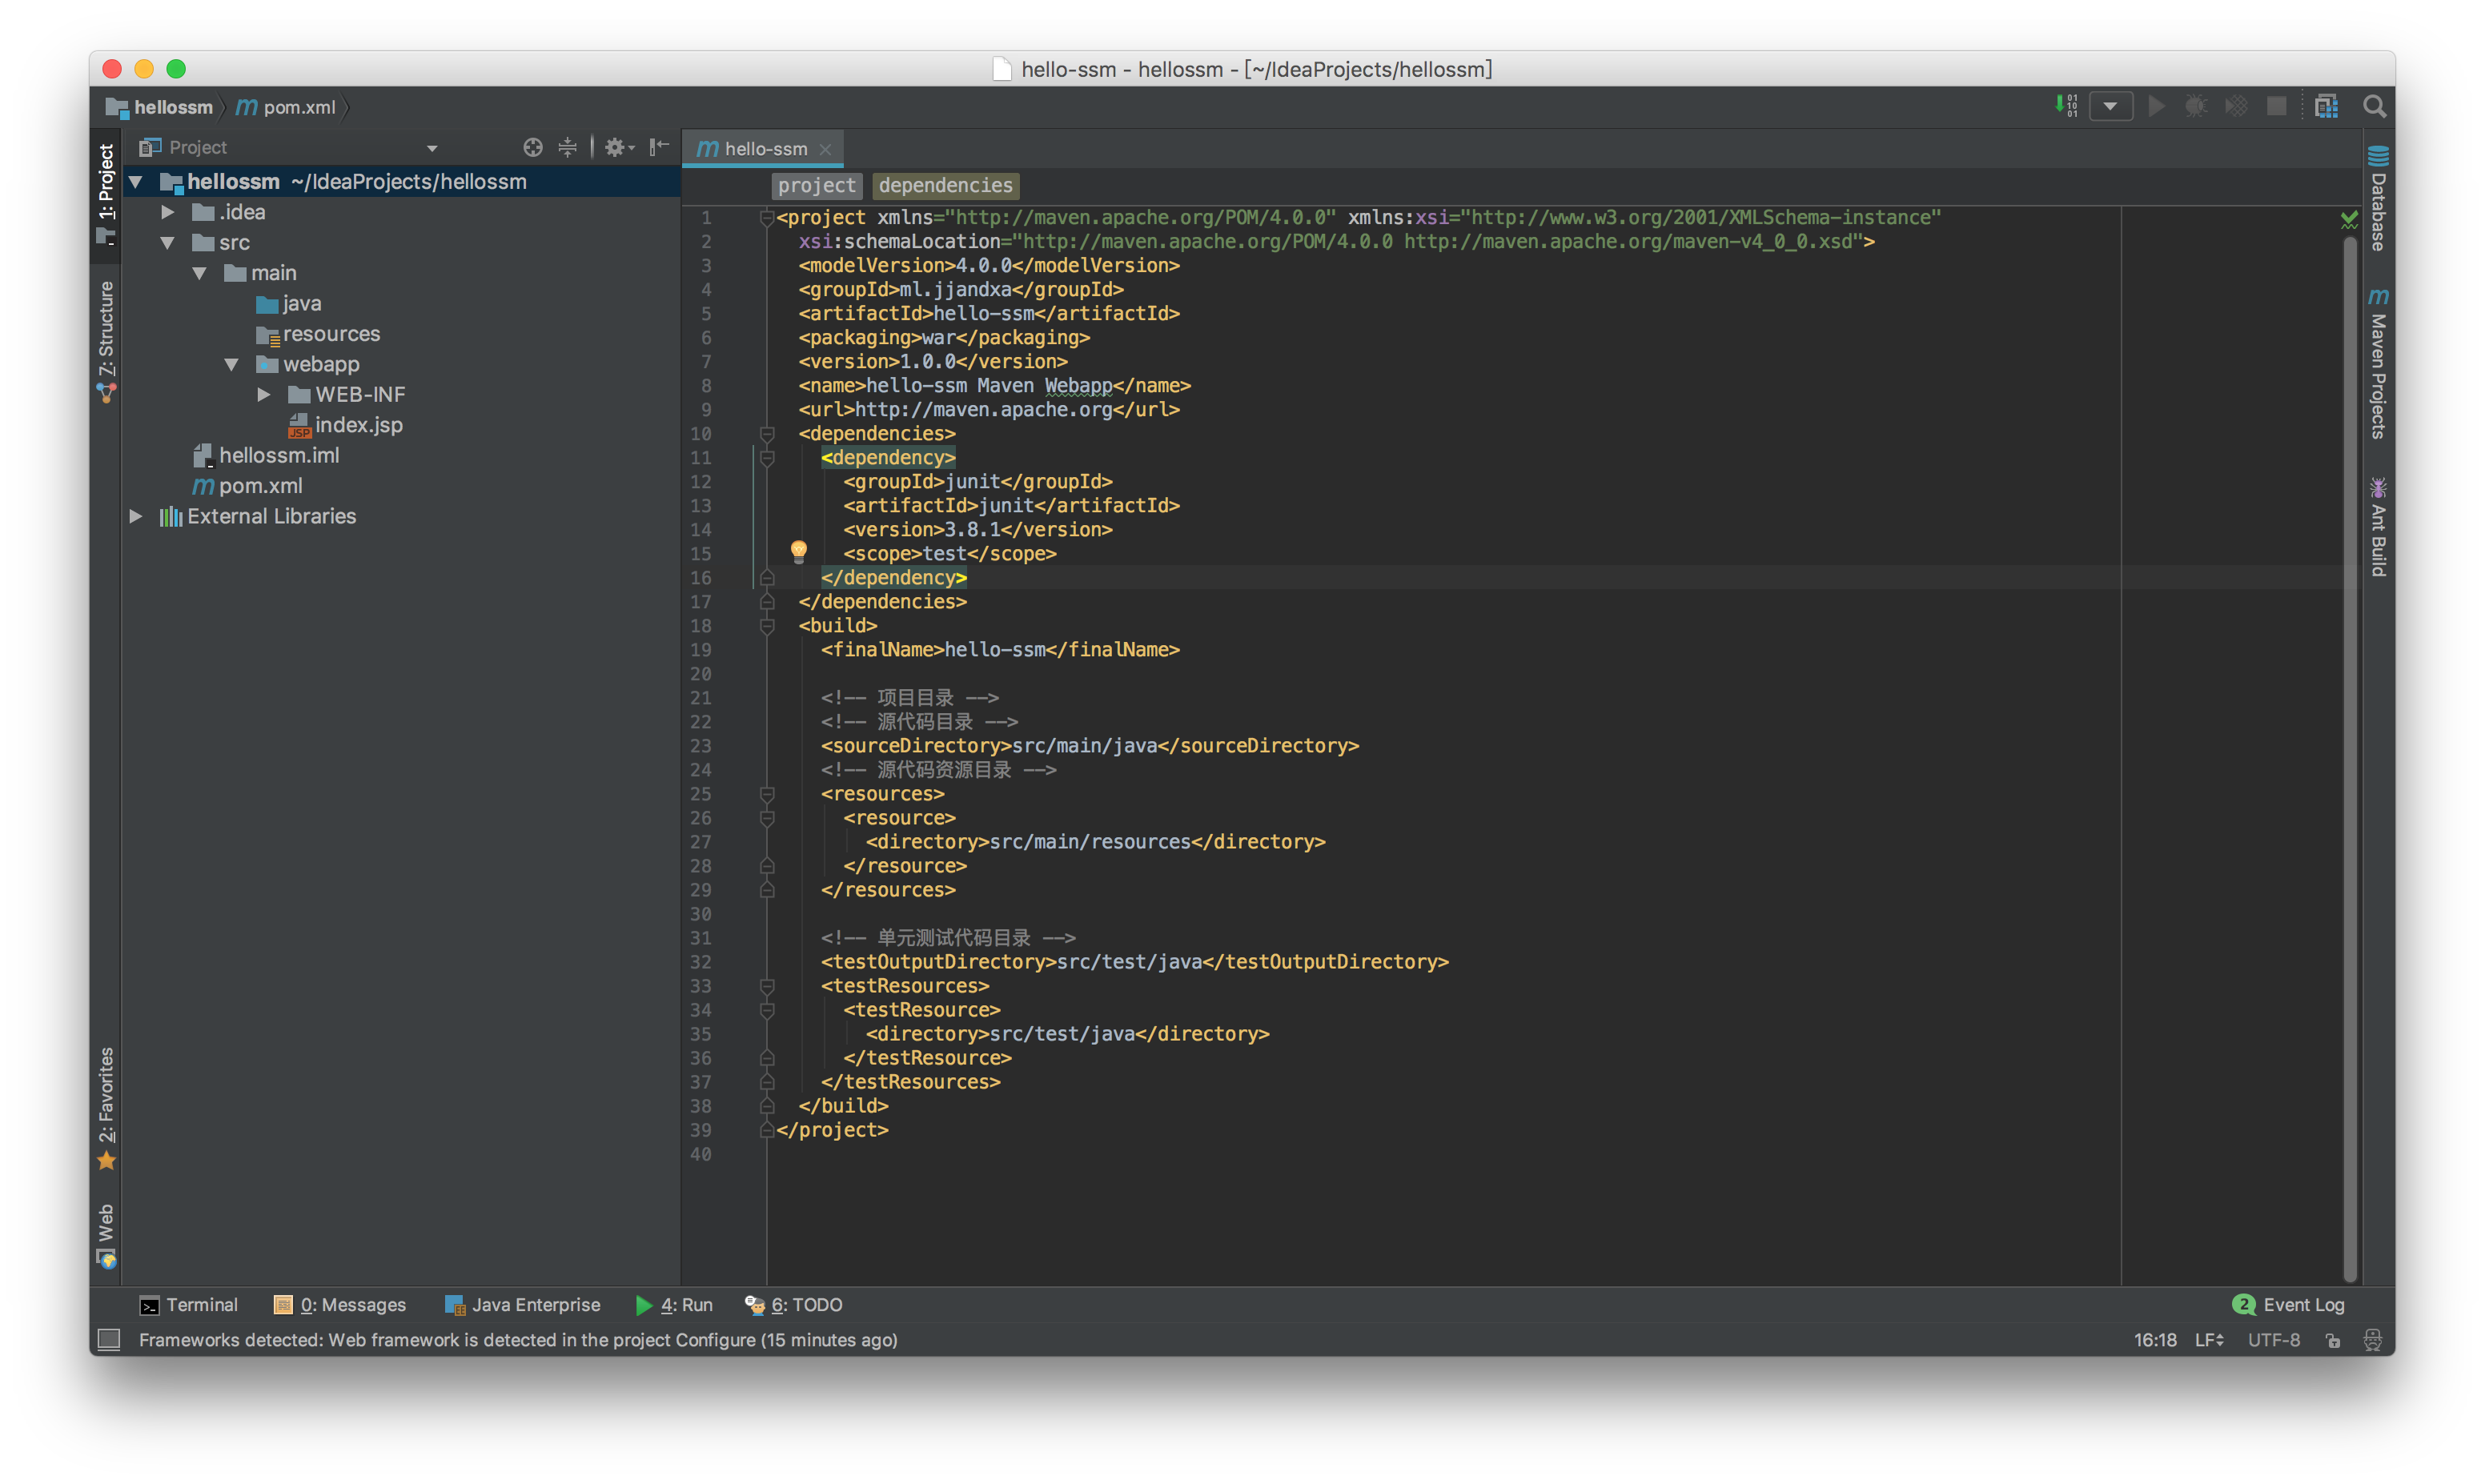
Maven pom.xml 设置
指定源代码、单元测试相关的路径。
|
|
部署项目。
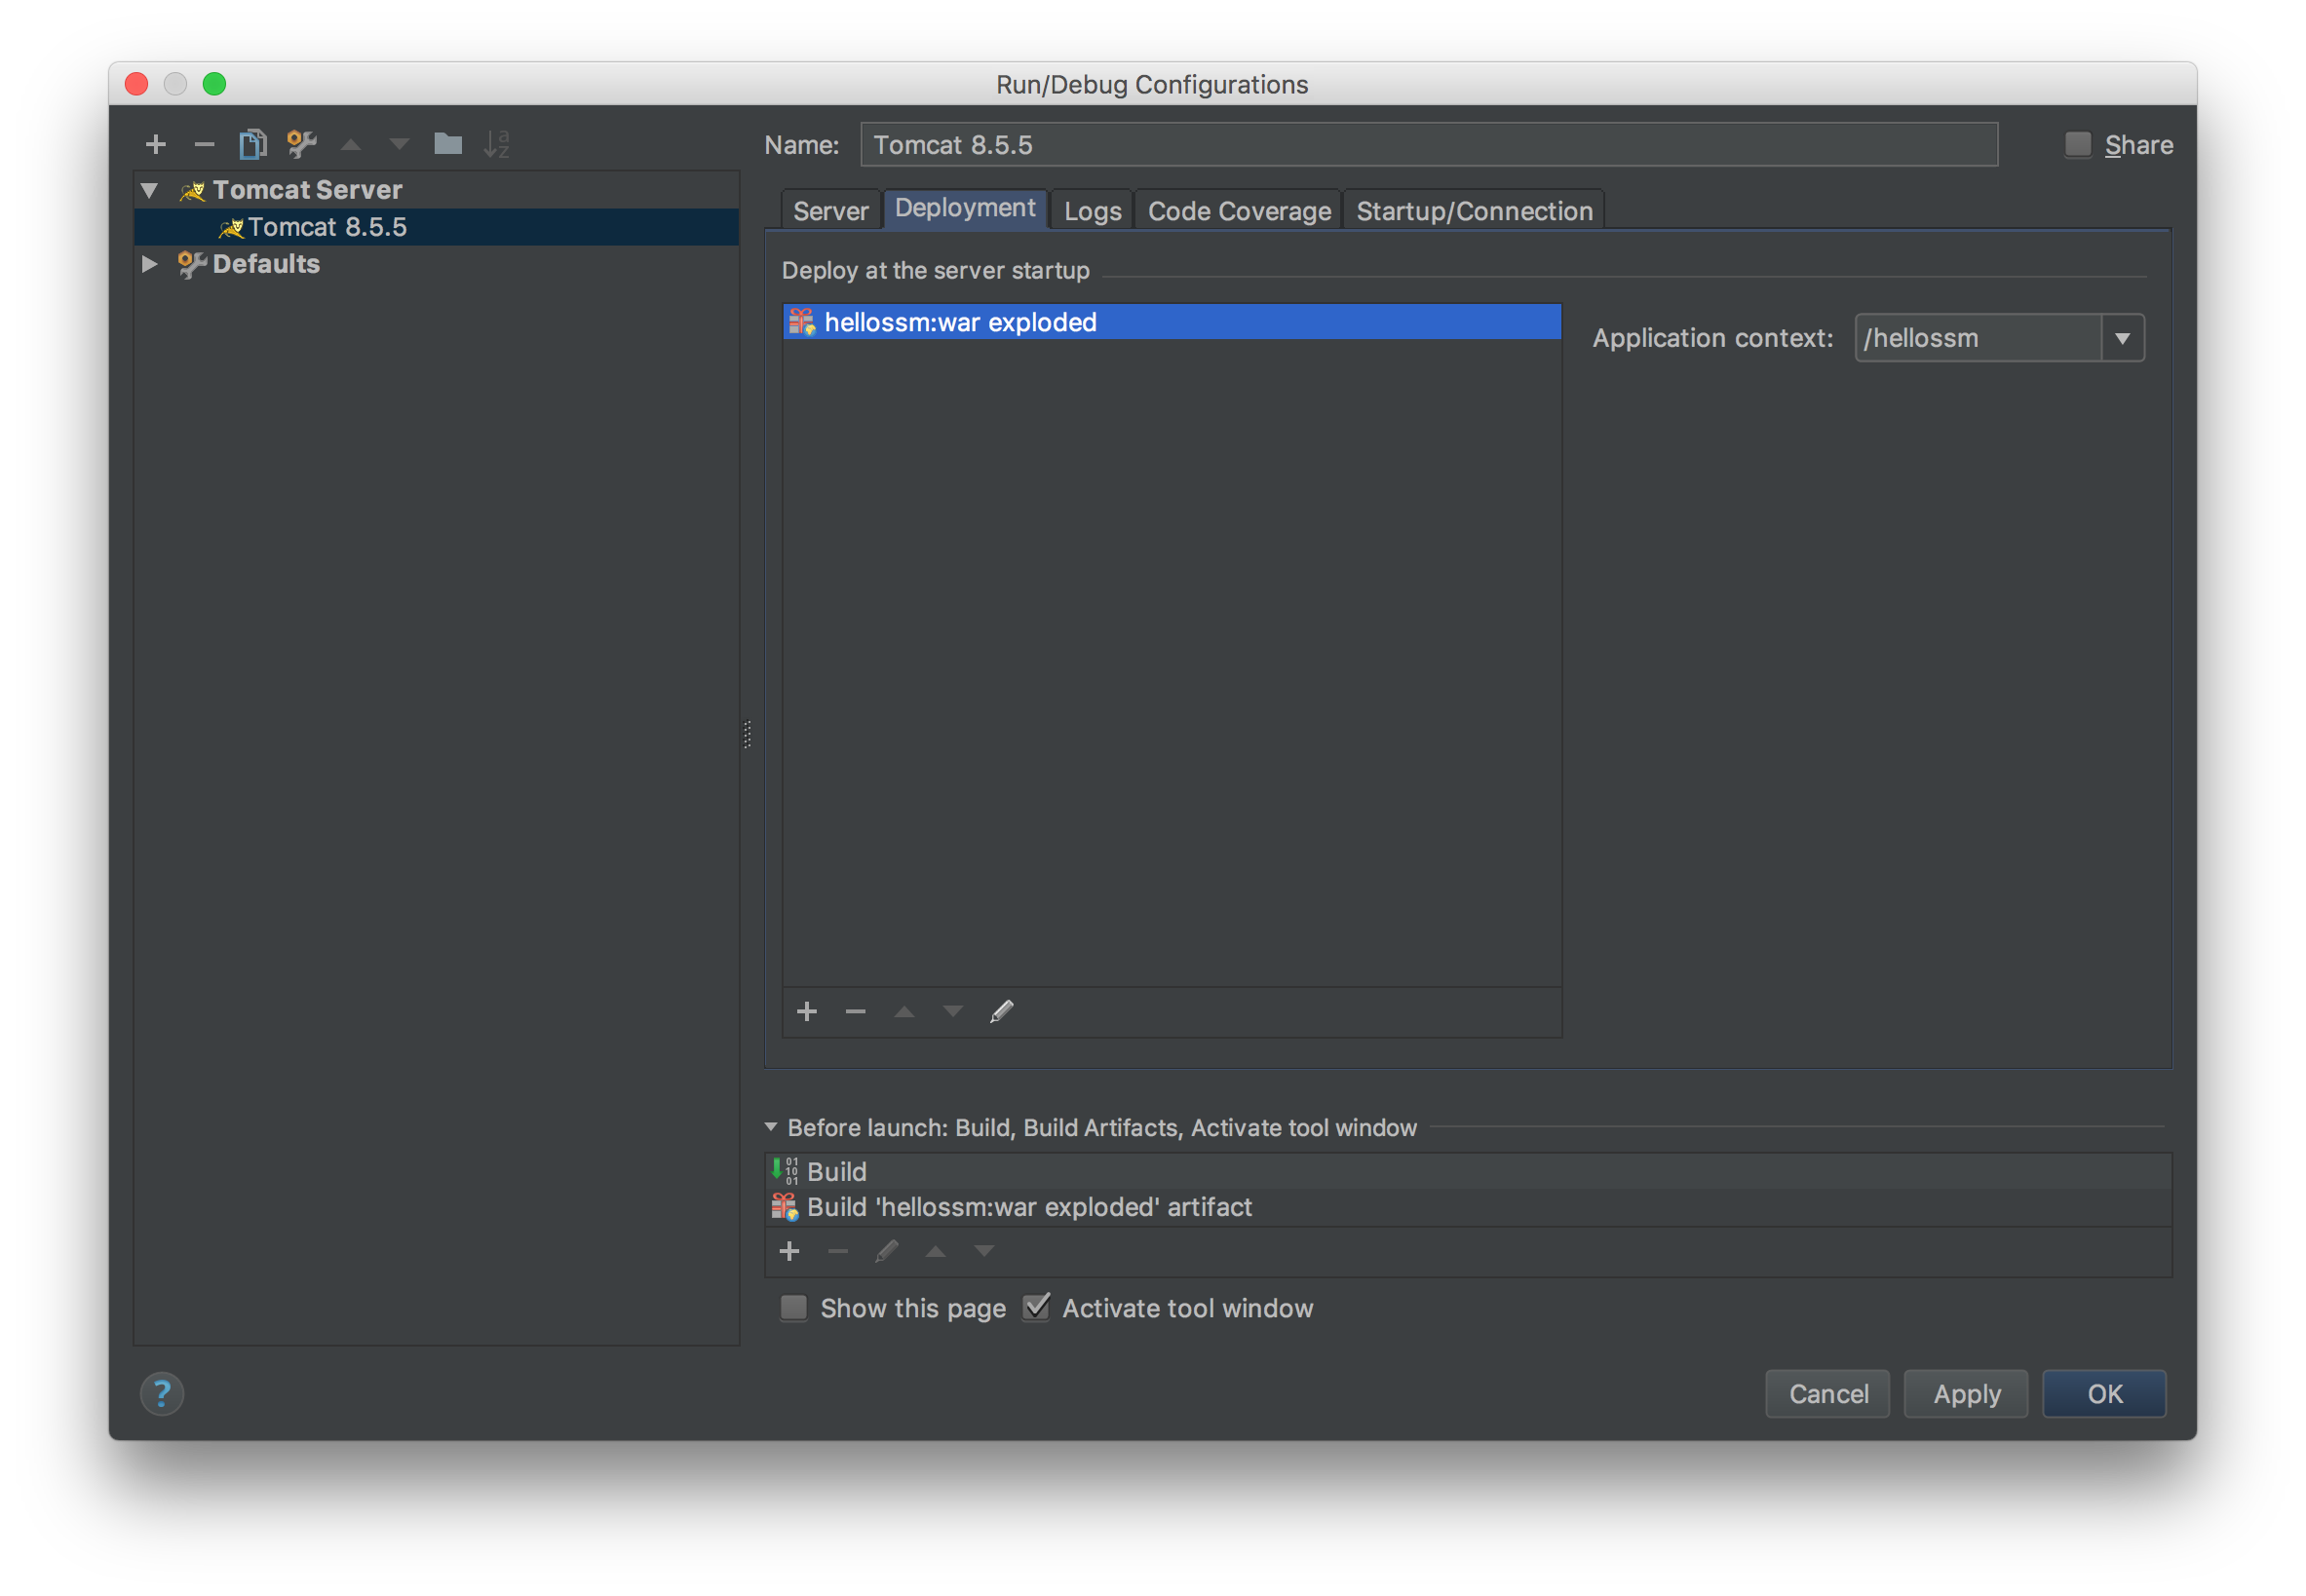
项目正常启动。
Spring & Spring MVC整合
首先需要添加依赖,spring-webmvc 已经包含了 spring-context 、 spring-core 等等其他核心依赖,所以不用再显式添加了。
|
|
注:依赖需要添加到 dependencies 节点中
添加完依赖,需要对 web.xml 进行配置,整合 spring & spring mvc 时需要注意以下几点:
Spring Context 配置
在 web.xml 添加如下内容:
123456789<!-- spring 监听与参数 --><listener><listener-class>org.springframework.web.context.ContextLoaderListener</listener-class></listener><context-param><param-name>contextConfigLocation</param-name><param-value>classpath:ssm-context.xml</param-value></context-param>该配置指定了 ContextLoaderListener 监听器,该监听器会在容器启动时读取 contextConfigLocation 参数以加载 Spring 配置文件。
注:若需要加载多个配置文件,在 contextConfigLocation 参数里以 , 分隔配置文件即可。
例:classpath:ssm-context.xml, classpath:ssm-context2.xml
编码过滤器
在 web.xml 添加如下内容:
123456789101112131415161718<!-- 字符编码过滤器 --><filter><filter-name>encodingFilter</filter-name><filter-class>org.springframework.web.filter.CharacterEncodingFilter</filter-class><init-param><param-name>encoding</param-name><param-value>UTF-8</param-value></init-param><init-param><param-name>forceEncoding</param-name><param-value>true</param-value></init-param></filter><!-- 映射所有请求到该过滤器 --><filter-mapping><filter-name>encodingFilter</filter-name><url-pattern>/*</url-pattern></filter-mapping>注:该过滤器的作用等同于
12request.setCharacterEncoding(“编码”);response.setCharacterEncoding(“编码”);该过滤器接收两个参数: encoding 、 forceEncoding 。encoding 为设置 request 的编码,forceEncoding 为设置 response 的编码与 request 的编码一致。
Spring MVC 配置
在 web.xml 添加如下内容:
123456789101112131415<!-- Spring MVC --><servlet><servlet-name>springMVC</servlet-name><servlet-class>org.springframework.web.servlet.DispatcherServlet</servlet-class><init-param><param-name>contextConfigLocation</param-name><param-value>classpath:ssm-mvc.xml</param-value></init-param><load-on-startup>1</load-on-startup></servlet><servlet-mapping><servlet-name>springMVC</servlet-name><url-pattern>/</url-pattern></servlet-mapping>该配置指定了 Spring MVC 的 Controller 分发器,并且设置了读取 MVC 配置的 xml 配置文件,然后将该 Servlet 映射为 / 路径。
注:经常有人会把 / 与 /* 弄混
/:代表匹配 / 路径下的所有 url ,不包括有后缀的路径,如:/user/addUser 或 /user/deleteUser。
/*:代表匹配所有路径,包括有后缀名的,如:/user/addUser 和 /user/userManaged.jsp。
如配置为 /* 的话需要单独设置 MVC 的资源目录,以忽略 DispatcherServlet 的拦截,如果不配置的话会导致访问 JSP 报 404 错误。
在 resource 目录下创建 ssm-context.xml 、 ssm-mvc.xml 文件。
注:Idea 支持直接创建 Spring 配置文件,右键 resource 目录,New - XML Configuration - Spring Config 即可。
在 ssm-mvc.xml 添加如下内容:
1234567891011121314<!-- 扫描 Spring 组件 --><context:component-scan base-package="ml.jjandxa" /><!-- 视图解析器 --><bean id="viewResolver" class="org.springframework.web.servlet.view.UrlBasedViewResolver" ><!-- JSTL 解析器 --><property name="viewClass" value="org.springframework.web.servlet.view.JstlView" /><!-- 视图前缀 --><property name="prefix" value="/page" /><!-- 视图后缀 --><property name="suffix" value=".jsp" /></bean>ssm-context.xml 添加以下内容:
12<!-- 开启注解 --><context:annotation-config/>以上配置设置了 Spring 扫描 ml.jjandxa 包下的所有组件,并且开始注解配置。最后设置了 Srping MVC 的视图解析器。
继续在 ssm-mvc.xml 添加如下内容:
123456789101112131415161718192021222324<!-- 对@ResponBody注解进行支持 --><bean class="org.springframework.web.servlet.mvc.method.annotation.RequestMappingHandlerMapping" /><bean class="org.springframework.web.servlet.mvc.method.annotation.RequestMappingHandlerAdapter" ><property name="messageConverters"><list><ref bean="mappingJackson2HttpMessageConverter" /></list></property></bean><bean id="mappingJackson2HttpMessageConverter" class="org.springframework.http.converter.json.MappingJackson2HttpMessageConverter"><property name="supportedMediaTypes"><list><value>text/html;charset=UTF-8</value><value>text/json;charset=UTF-8</value></list></property></bean><!-- 支持上传文件 --><bean id="multipartResolver" class="org.springframework.web.multipart.commons.CommonsMultipartResolver"><property name="defaultEncoding" value="utf-8"/></bean>以上配置为开启 @ResponseBody 注解的 Json 输出,并且开启了上传文件的支持。
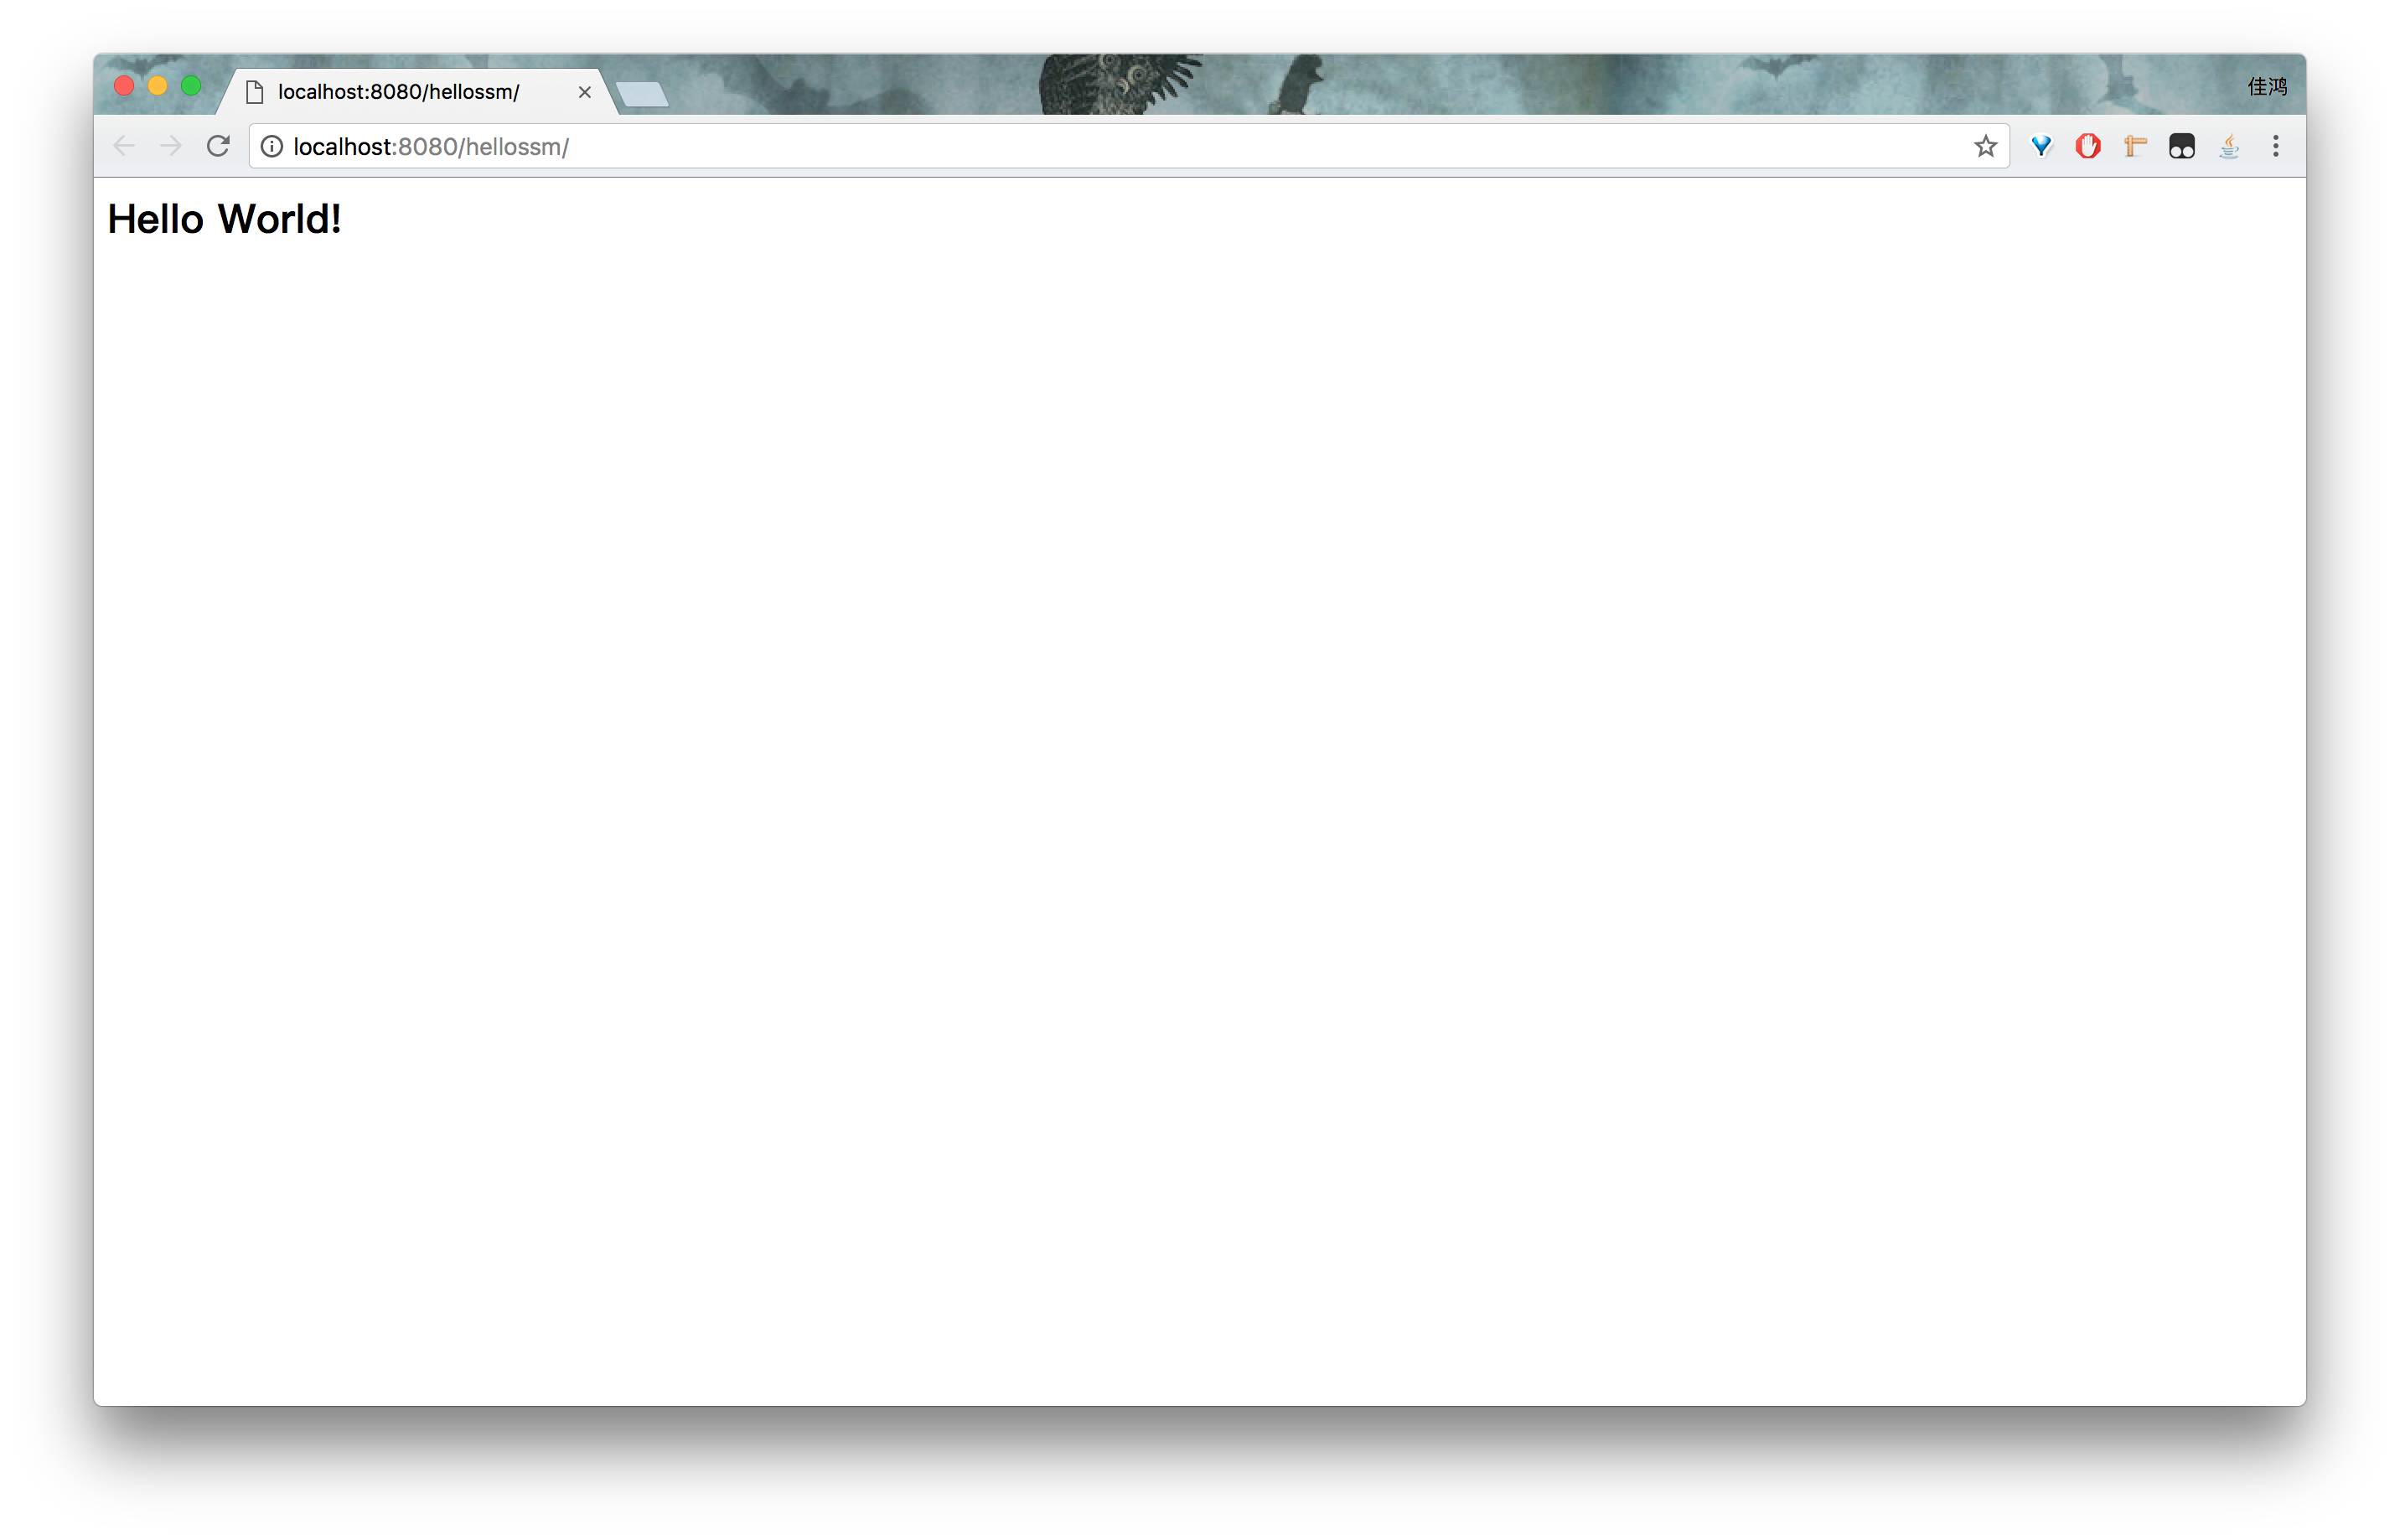
你好,Spring MVC
以上就是整合 Spring MVC 的详尽步骤,启动项目检查是否能够正常启动!如果正常启动,代表上述配置并没有出什么错误,编写一个 Controller 验证 Spring MVC 是否正常工作。编写如下控制器:
|
|
测试请求:
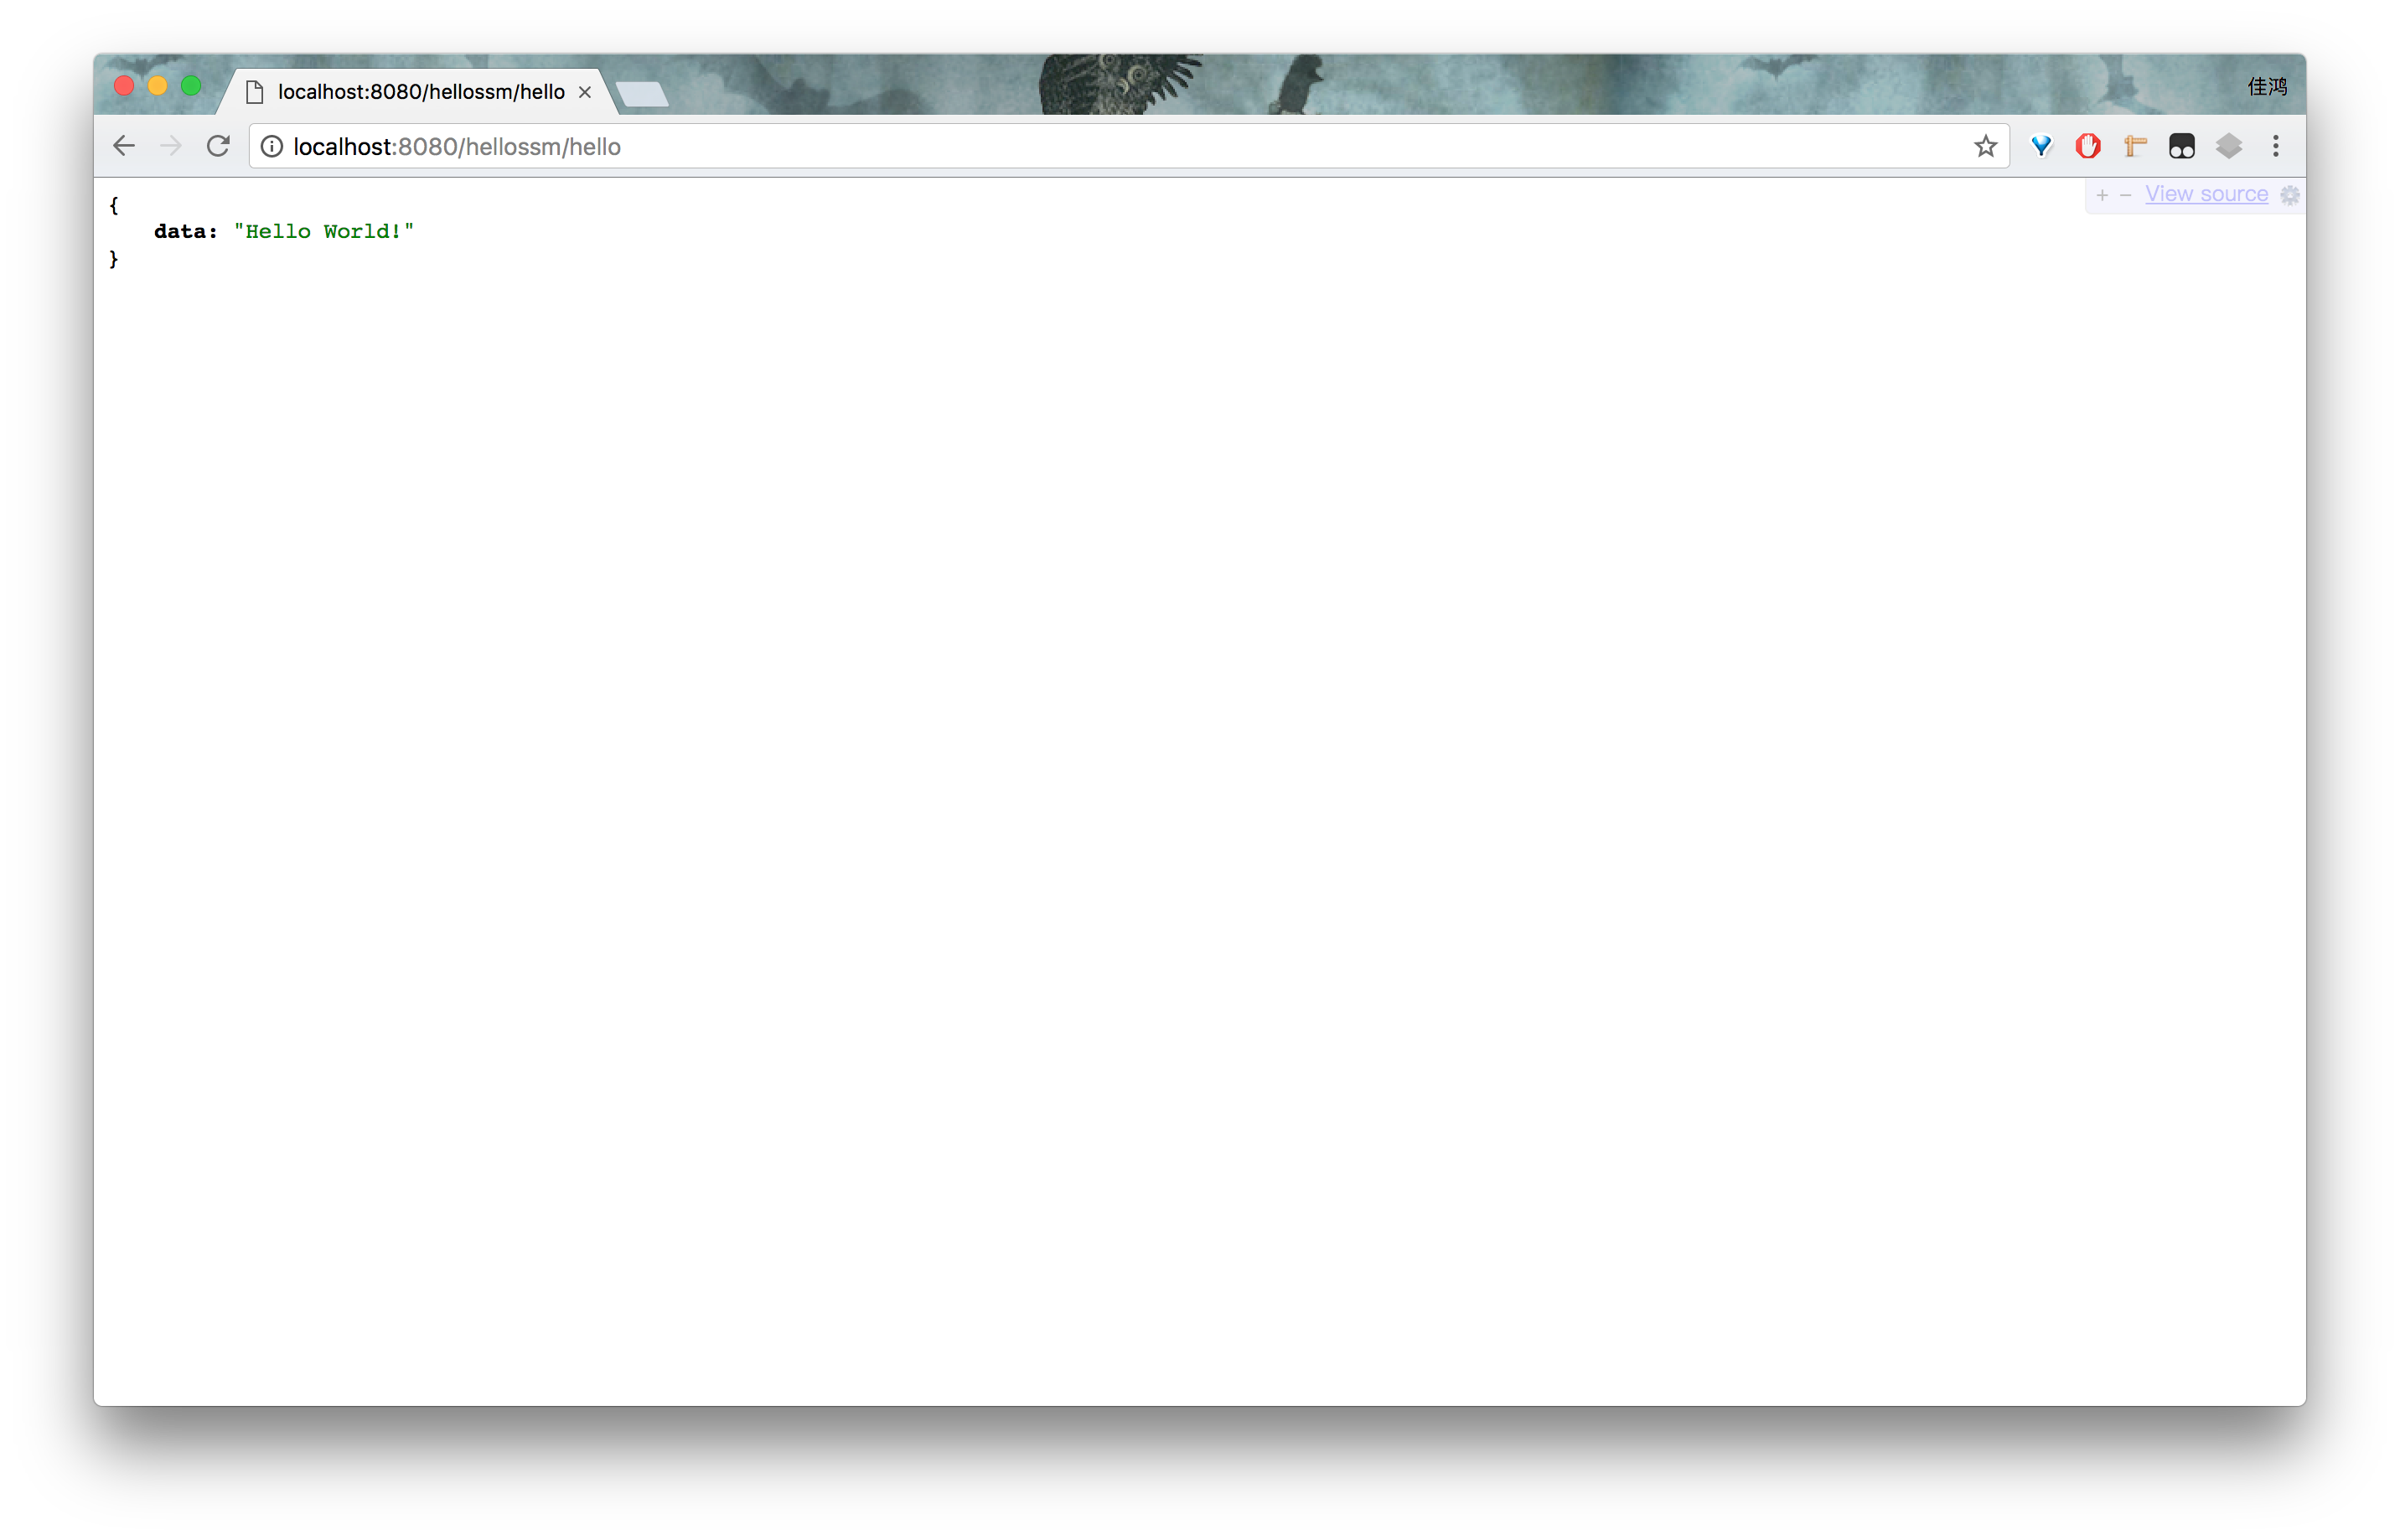
成功啦!^_^